Development Of WordPress Plugins: The Best Guide

Table of Contents
Plugins are an essential part of the WordPress platform because they make it simple to add or alter features to a WordPress site without changing WordPress core files.

Even though different plugins will require varying degrees of coding expertise, they all generally adhere to the same procedure for development of WordPress plugins. Let’s examine the vital steps for development of WordPress plugins.
Development of WordPress Plugins: Basic Attributes
WordPress overrides its core files when it updates to a new version. This means that when WordPress is upgraded, any custom functionality you add to a WordPress site through direct modifications to the WordPress core will be lost. This made the development of WordPress plugins necessary.
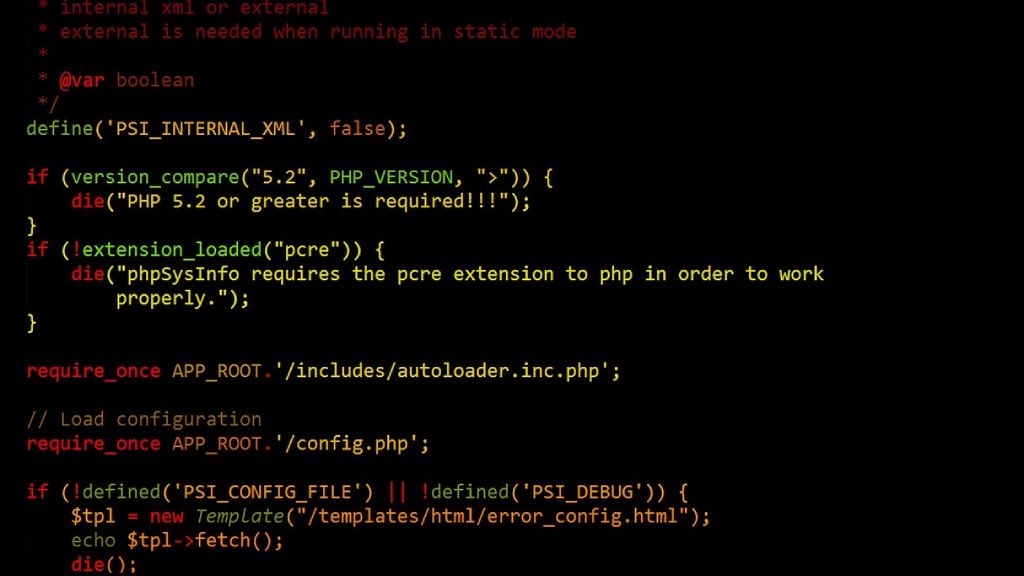
A WordPress plugin consists of one or more functions that are defined in a PHP file, as PHP is the main scripting language that powers WordPress. The purpose of PHP is to assemble specific data from the database into an HTML webpage.

Three elements are involved in the development of WordPress plugin: shortcodes, widgets, and hooks (action and filter hooks).
Hooks
WordPress hooks let you modify a process at a certain point without modifying the core files of WordPress. Hooks can be used to associate code snippets or functions to run at multiple times. A hook can be utilized as an action (action hook) and filter (filter hook).
Action Hook
An action is a process that you may add with an action hook. WordPress has an add_action() function that you may use to work with actions, including creating, reading, and saving posts.
Filter Hook
A hook that changes a process is called a filter. With the use of filters, data may be altered without changing its original source. To utilize a filter hook, use the apply_filters() method. The value to be filtered and the filter’s name are mandatory parameters.
Shortcodes
A plugin that you create doesn’t automatically have access to the WordPress theme. A shortcode is required in order to interact with the WordPress theme and show the user certain information. A dynamic HTML element may be added to a post or page using shortcodes.
Widgets
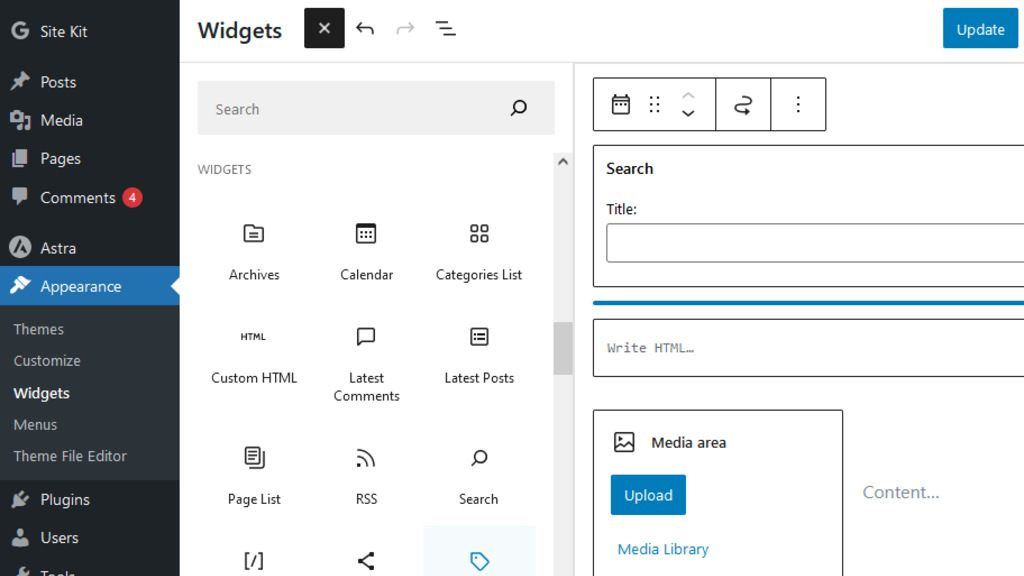
Developers now have an additional method to show the end user the content of your plugin thanks to widgets. To create a widget for your plugin, you must extend WordPress’s built-in PHP WP_widget class.

Development of WordPress Plugin: Key Steps
For the backend, WordPress is powered by SQL and PHP, two programming and query languages. Thus, the development of WordPress plugin requires deployment experience in core technologies like HTML/CSS that power WordPress in the front end. In this article, we’ll walk you through the process for development of WordPress plugin.

Identify the Requirements
There are many plugins available in the official WordPress plugin directory, so before the development of WordPress plugin, see whether one already exists and meets your needs.
- Consider making your own plugin if you can’t locate the ideal one for your requirements.
- The first step in the development of WordPress plugin is to specify your requirements precisely.
- You can implement your idea into a productive plugin if you have a clear understanding of the problem that needs to be fixed.
- You might take a lot of things into account in this phase. What functionalities does this plugin offer? In what way will you personalize it? How will the design appear?
Build a Directory Structure for WordPress Plugins

WP uses the default directory /wp-content/plugins/ to store plugin code on the back end. Depending on the intricacy of the plugin, you will need to organize it differently inside this directory.
The directory name and plugin name are the same, however, write the directory name in lowercase and have dashes rather than spaces.
We advise keeping the plugin’s whole code contained in a single PHP file, called my-plugin.php (/wp-content/plugins/my-plugin). This kind of structure is perfect for a small, straightforward plugin.
Generate the Plugin File
The first thing to do after creating a plugin is to make a folder for it in the directory of your website. In order to access the files and folders on your site, you can use a Secure File Transfer Protocol (SFTP) client such as FileZilla.
If you’re using FileZilla for the first time, you’ll need to enter your login information, which includes your password and username. This data is accessible via your hosting account.
After connecting to the directory of your website, go to wp-content/plugins and make a new plugin folder. Next, you need to construct the PHP file that you placed in this folder. To accomplish this, launch your favorite text editor and type the following data.
<?php /** * Plugin Name: test-plugin * Plugin URI: https://www.your-site.com/ * Plugin Name: test-plugin * Description: Test. * Author: your-name * Version: 0.1 * Author URI: https://www.your-site.com/ **/
You can save your file when you’re ready. Don’t forget to use the php file extension (my-first-plugin.php, for example).
After that, you must upload this file to the plugin folder you already made. After completing this, go to the Plugins page in the WordPress admin of your test site.
Set Up Your Plugin
Adding the file header is the next step after creating your plugin directory and adding files to it. A PHP comment block that has details about the plugin is called the file header. It will show up in your WordPress admin’s list of plugins when the file header has been added.
Expand the Features of Your Plugin

Even if you have generated a blank plugin, nothing has been accomplished thus far. It is presently in need of functionality. This is the stage in which you really implement your idea.
- We’ll create a WordPress admin page with the text “Hello World” in it for our basic plugin example. As you build an admin page, it also inserts a menu item.
- This code sample uses the action hook admin menu to add a menu item and runs the hello_world_admin_menu function.
- We utilize the built-in function add_menu_page() in the function to add a menu item and a page for the plugin on the WordPress admin.
- Finally, the additional features include the callback function, capability, menu slug, page title, and menu title.
Examine Your Plugin
It’s crucial that you test your modifications on your staging site and frequently save your work as you continue to develop your plugin.
To ensure that you address any security issues before publishing your plugin, you should also keep an eye out for any shortcomings.
Once more, you should confirm that you have carefully tested your plugin to remove any errors or vulnerabilities.
Conclusion
We have been discussing the development of WordPress plugin from scratch in this blog. If you have the necessary knowledge and abilities, you can launch a plugin, even if it will take some time and technical experience.
But if you lack the fundamental knowledge and don’t have enough time to learn it on your own, you could want to think about hiring a professional WordPress developer who specializes in creating unique plugins.


