Quick And Best Docker WordPress Installation Guide 2024

Table of Contents
Since WordPress is the most widely used CMS (Content Management System) in the world, it should be carefully considered before creating a new website. It uses PHP processing and a MySQL database as its foundation.

Installing WordPress locally requires a number of steps and might take some time to set up. Nevertheless, Docker containerization or Docker WordPress installation is the most straightforward method for configuring a local WordPress environment.
Docker: What Is It?
An open-source containerization program called Docker builds separate environments for different programs to run in. Multiple programs can be developed, tested, and executed by users on the same real and virtual servers.
Because they share the host kernel, containers don’t need separate operating systems like virtual machines do. As a result, the demand on the device is substantially lighter, and the server can operate more than one container at once.
Docker WordPress Installation

Docker WordPress installation, for instance, is quite helpful for WordPress developers. It enables developers to create a minimum environment without wasting server space or memory, in contrast to the typical WordPress test environment, which consumes a lot of system resources.
There are two ways to Docker WordPress installation: Docker compose and the CLI. Because the Docker compose approach is more methodical and easy, we will utilize it in this lesson.
It is noteworthy that Docker Hub is the source of all necessary images:
WordPress: The official WordPress Docker image. It includes PHP, Apache, and all WordPress files. You need to establish the database connectivity information for a WordPress container to operate.
MySQL: To establish a connection to the MySQL container, WordPress will make use of these environment variables.
phpMyAdmin: A web application for database management.
Docker volumes need to be configured for the WordPress data folders. They keep your uploaded media and settings files intact even after a container restart.
Before moving on to Docker WordPress installation, make sure Docker and Docker Compose are installed. Docker Compose simplifies the process of defining your volumes, dependencies, and the two services.
Quick WordPress Setup with Docker
When Docker is used widely, managing several containers gets difficult. With the help of Docker Compose, you can quickly create and launch multi-container apps in Docker.
Compose allows you to declare all of your services in a single YAML file and spin everything up or down with a single command.
The time and effort needed for the Docker WordPress installation process can be significantly decreased by using Docker Compose, which helps to reduce it to a single deployment command.

Steps for Installing WordPress Docker Compose
Let’s demonstrate how to install Docker Composes’ most recent version so you can manage apps that run in several containers.
- Go to your root account.
sudo -i
- First, make sure it is up to date in the command by checking the current release.
sudo curl -L "https://github.com/docker/compose/releases/download/v2.5.1/docker-compose-$(uname -s)-$(uname -m)" -o /usr/bin/docker-compose
- Give the binary executable permissions after that.
sudo chmod +x /usr/bin/docker-compose
- And last, you can confirm that the installation was successful by looking up the version.
docker-compose --version
Create a Directory
You must create a new directory named WordPress to store the WordPress data inside /srv. We can get some data permanence in this way.
sudo mkdir -p /srv/wordpress
cd /srv/wordpress/
The data in the Docker containers is not persistent, as you are aware. This implies that there won’t be any data left within when you restart the container after stopping it.
Inevitably, adding a Docker volume will prevent this from happening.
Preparing the Docker Compose YAML File
All resources required to execute a container in the Docker Compose realm must be described in a YAML file called docker compose yaml.
The specified resources can then be created, modified, or destroyed by Docker Compose, which will read these files and interact with the Docker daemon.
The service definitions for our dockerized WordPress configuration are located in the file named docker-compose.yml. In addition, thanks to Docker Compose, we can connect these services over common networks and volumes.
So let’s get started by using your preferred editor to create a new docker-compose.yml file within the /srv/wordpress directory.
sudo vim docker-compose.yaml
Put this configuration here.
version: "3"
# Defines which compose version to use
services:
  # Services line define which Docker images to run. In this case, it will be MySQL server and WordPress image.
  db:
    image: mysql:5.7
    # image: mysql:5.7 indicates the MySQL database container image from Docker Hub used in this installation.
    restart: always
    environment:
      MYSQL_ROOT_PASSWORD: MyR00tMySQLPa$$5w0rD
      MYSQL_DATABASE: MyWordPressDatabaseName
      MYSQL_USER: MyWordPressUser
      MYSQL_PASSWORD: Pa$$5w0rD
      # Previous four lines define the main variables needed for the MySQL container to work: database, database username, database user password, and the MySQL root password.
  wordpress:
    depends_on:
      - db
    image: wordpress:latest
    restart: always
    # Restart line controls the restart mode, meaning if the container stops running for any reason, it will restart the process immediately.
    ports:
      - "8000:80"
      # The previous line defines the port that the WordPress container will use. After successful installation, the full path will look like this: http://localhost:8000
    environment:
      WORDPRESS_DB_HOST: db:3306
      WORDPRESS_DB_USER: MyWordPressUser
      WORDPRESS_DB_PASSWORD: Pa$$5w0rD
      WORDPRESS_DB_NAME: MyWordPressDatabaseName
# Similar to MySQL image variables, the last four lines define the main variables needed for the WordPress container to work properly with the MySQL container.
    volumes:
      ["./:/var/www/html"]
volumes:
  mysql: {}
More Explanation
- WordPress and MySQL are two services that we define and are automatically connected with each other.
- They make use of a Docker image, which determines the WordPress and MySQL versions to utilize. Specifically, their most recent iterations.
- WordPress environment: You need to establish the database connectivity information for a WordPress container to operate.
- The WordPress image is built on Apache, which by default uses port 80. Map the local computer’s port 8080 to the Apache server’s default port.
- Data entering this database will be saved to a volume called mysql_data, which will allow the data to remain on your computer and be remounted even after the container is removed.
WordPress Content Directory
Furthermore, Docker is instructed to expose the wp-content directory in the local file system using the volumes parameter under WordPress.
Thus, certain areas of our WordPress website, like the wp-content directory, now have permanent storage. All content submitted by users is located in the wp-content folder.
All of the content that you may upload to your website ultimately ends up here. Still, even if everything else is gone, you can always restore your website as long as you have both the database and your wp-content folder.
Running WordPress on Docker Compose
To construct and launch the containers after creating the Docker Compose yaml file, use the following command in the same WordPress directory:
sudo docker-compose up -d
The command will initiate script execution, and as Docker pulls in the MySQL and WordPress images, you should observe a variety of “Downloading” and “Waiting” signals in the terminal. This will take some time.
When you closely monitor your local file system, you will notice that when the Docker images are pulled in, a folder called /srv/wordpress/wp-content is created and filled with files.
Finish Installing WordPress Using a Web Browser
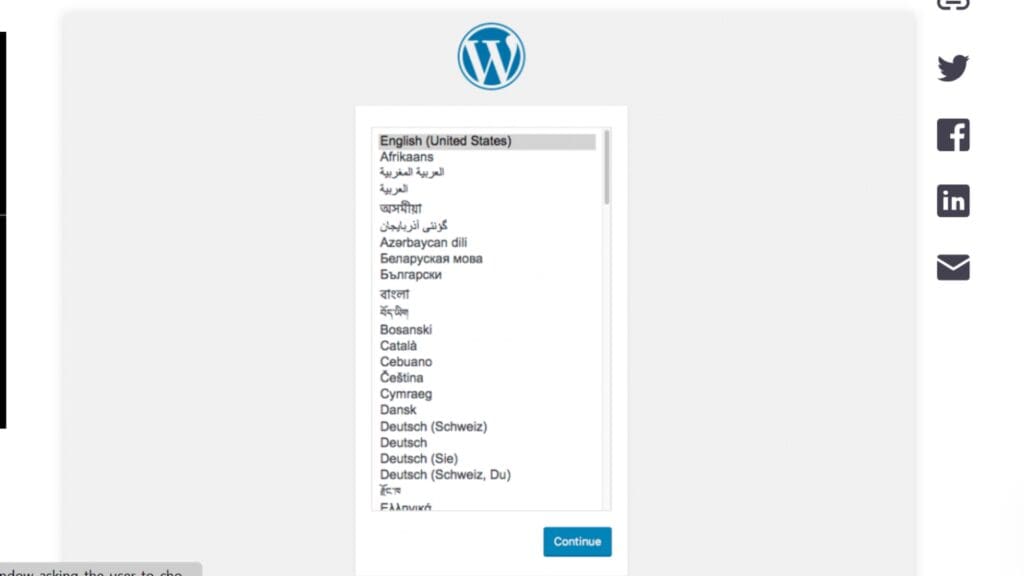
Navigate to http://localhost:8000/ in your browser… The screen for WordPress configuration will show up. Choose your favorite language and proceed.
Enter your email address, password, username, and site name.
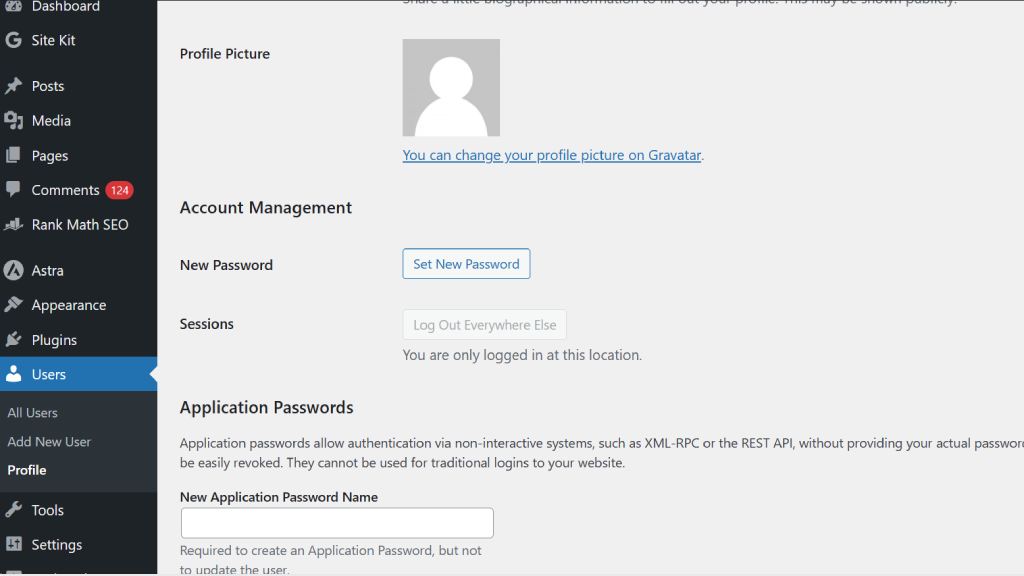
Use your freshly created login information to log in when the Success! message appears. The main screen of the WordPress dashboard will then appear to you.

Configuration with Docker Secrets
Sensitive information needs to be handled extra carefully, including passwords, SSH keys, and other important data.
wordpress:
   depends_on:
     - db
   image: wordpress:latest
   restart: always
   ports:
   - "8000:80"
   environment:
     WORDPRESS_DB_HOST: db:3306
     WORDPRESS_DB_USER: MyWordPressUser
     WORDPRESS_DB_PASSWORD_FILE: /run/secrets/wordpress_password
     WORDPRESS_DB_NAME: MyWordPressDatabaseName
   secrets:
     - wordpress_password

secrets:
 wordpress_password:
   file: ./wordpress_password.txt
You can increase your security in circumstances where other contributors can access you by using Docker secrets. In your Compose file, define secrets and replace WORDPRESS_DB_PASSWORD_FILE with variables such as WORDPRESS_DB_PASSWORD.
WordPress will use the secret file that Docker injects to load the value of the variable. In your working directory, add your password. You can access it within the container. This file should be read by WordPress in order to get the final database password.
Adding Your Own Site
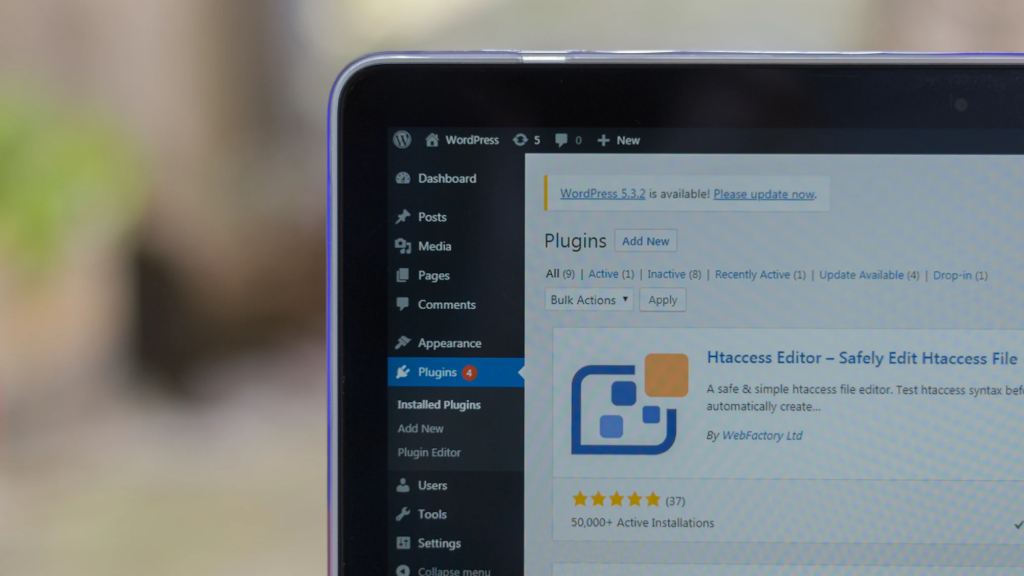
After completing the preceding procedures, you have a brand-new Docker WordPress installation that you can interact with via the admin center.
Using the admin interface, add pages, posts, themes, and plugins; it’s as simple as WordPress installation from scratch. You may set up your container with a preset collection of themes and plugins, by mounting the themes
/var/www/html/wp-content/themes
and plugins
/var/www/html/wp-content/plugins
directories.
Custom Docker Image
You can also use this technique to make a customized Docker image for your website. Copy the components from your site into the relevant directories, using the official WordPress image as a base.
When you install the latest themes or post media items, such as photos, after Docker WordPress installation, these folders are preserved under the wp-content directory.
Conclusion
Now that the idea underlying Docker Compose has been explained to you, you ought to be able to define even basic multi-container applications. In this tutorial, you learned Docker WordPress Installation using Docker Compose.
Docker WordPress installation avoids polluting your host machine and helps you containerize your site and its configuration.
By defining your services as a Docker Compose file, you can assist colleagues in getting up and running quickly WordPress effortlessly.


