Various Efficient Ways To Install WordPress Plugins

Table of Contents
The WordPress ecosystem depends heavily on essential plugins. Their contribution to the platform’s extensibility sets the content management system (CMS) distinct from its competitors. You need not worry if that is you.
To ensure that your website always has the great stuff it requires, we’ll show you how to install a WordPress plugin through four various methods.
What Are plugins

Plugins are tools that you may add to your WordPress website to expand its functionality and give it access to additional features. Plugins are divided into several categories, such as:
Free Plugins
These are those that are made publicly available for free and may be found in the WordPress plugin directory.
Premium or Paid plugins
Some premium plugins offer a free version as well, but to access their premium features, you must buy the pro version. Various websites and marketplaces provide premium plugins for purchase.
Custom Plugins
You can create a custom plugin to fulfil specific demands if your WordPress website is lacks a feature or you want it to do a certain task.
Four Different Ways to Install WordPress Plugin
Right now, the WordPress repository offers 60,000 free plugins. There are thousands of plugins accessible on other platforms in addition to this.
Users now have the chance to try out several plugins until they discover the ideal one. There are four different methods to install WordPress plugins that will be covered in this tutorial.
Install WordPress Plugin Through the Plugin Directory

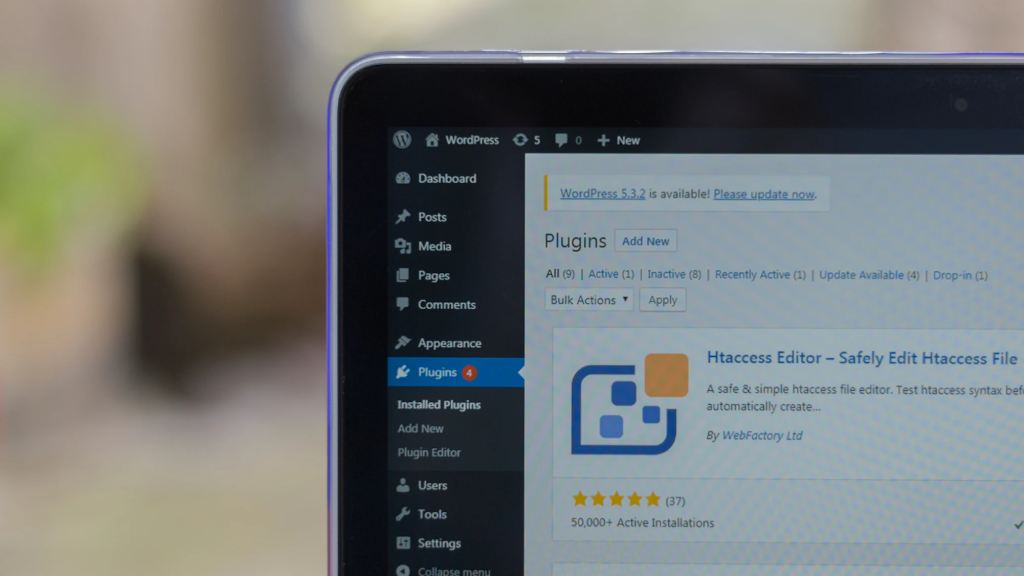
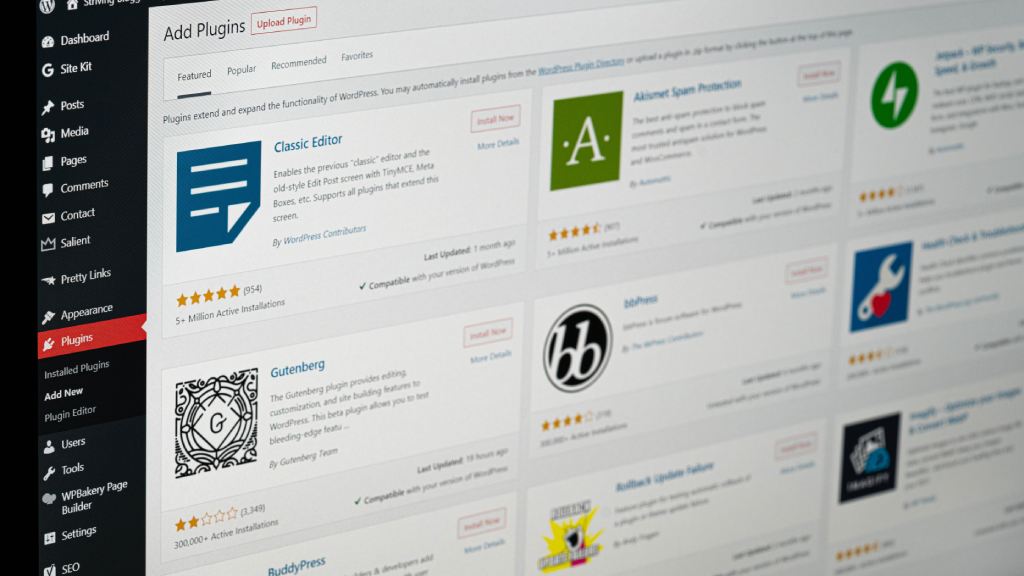
Searching via the official WordPress plugin directory in your admin panel is the quickest and most straightforward method for you to install WordPress plugins. This may be found under Plugins – Add New.
Once there, you are free to look for any plugin you like. Simply click the Install Now button to add the plugin to your website. Any results for the plugin will show up beneath the search box.
After that, the Install Now button will change to a blue Activate button. Press this button to make the plugin active and functional on your website, and it will appear under Plugins – Installed.
Install WordPress Plugin Using the Admin Page

The WordPress plugin directory does not include paid WordPress plugins. Installing these plugins via the first approach is not possible.
In addition to the search box we used above, you can see the Upload Plugin button under the Plugins – Add New menu item. You will utilize this option, when an external website that is not part of your WordPress dashboard, offers a plugin as a.zip file.
Significant actions
- Instead of an installation button, there is a download button on the plugin page this time.
- The.zip file for the plugin will start to download when you click this button. It doesn’t matter what name you save this file as, even if the plugin’s files inside the package cannot be changed.
- Navigate to Plugins – Add New and select the “Upload Plugin” option. When you click the Choose File button, the window will enlarge to expose the file on your local computer. Locate it and select Install Now.
- The following step has activated the plugin. After this, you will have downloaded and installed a WordPress plugin.
Install WordPress Plugin Using C-Panel
You get access to cPanel (also known as the Control Panel) with most web hosting companies, including Bluehost, Hostgator, Hostinger, and SiteGround.
You may manage your WordPress installation, including its files and database, here, as well as your web hosting, domain, and servers.

Sequential Procedure
- Register with cPanel.
- Launch the WordPress Toolbox.
- A list of installed WordPress websites is displayed on the WordPress Toolkit page. Click the Plugins tab in an entry in the site list.
- The site’s installed plugins are listed.
- Click Install to add a new plugin to the website. After choosing a plugin from the list, click Install.
Install WordPress Plugin Using Secure File Transfer Protocol (SFTP)
There isn’t much of a difference between installing a plugin via upload and SFTP. Even so, you’re carrying out comparable tasks—just using an external connection instead of your dashboard.
It is stated that you will require an FTP client and in this case, you will use FileZilla.

Step-by-Step Process
- First things first, you’ll need SFTP access to your website, which you can get through your hosting account or, if that’s not you, your website administrator. To create an SFTP account, most hosts provide a section in their cPanel or site tools.
- For example, with SiteGround, go to Site, FTP Accounts, and create an account by entering your desired username and password.
- After that, a popup will appear and instruct you on exactly what details your FTP client needs to have in order to connect to your website.
- Now, you will need to manually unzip the contents of the package, which is the main distinction between this approach and the previous one of uploading a plugin.
- You need to upload the uncompressed files—not the zipped folder—when you upload a WordPress plugin using SSH File Transfer Protocol. Take care not to change any names.
- At this point, the files on your local system will be on the left side of your FTP client, and the files on your website will be on the right.
- You will need to locate the /public_html/wp-content/plugins/ directory on your website and the extracted plugin files on your own computer.
- Next, just choose Upload by performing a right-click on the plugin folder. This will automatically install the WordPress plugin over SFTP as long as you’ve gone to your /public_html/wp-content/plugins/ folder. When it’s done, it will appear in the plugins folder.
- After that, everything continues as usual when you click Activate under Plugins – Installed. That is the only thing about it. You may use your new plugin right away by disconnecting your FTP client.
Conclusion
In this article, we have walked you through different ways to install WordPress plugin step-by-step. WordPress plugins can be thought of as apps for your WordPress website.
WordPress plugin installation is a straightforward process. After installation, they let you extend WordPress with new features like a shopping cart, slideshow, contact form, and more.


