Reliable Methods To Display Announcements On WordPress
Table of Contents
An efficient technique to draw visitors’ attention and increase conversions is to display announcements on your website. They may be used to advertise exclusive deals, divert viewers to well-liked content, and provide crucial messages, among other things.
We’ll walk you through the process of showcasing announcements on WordPress in this post.
Why Announcements on WordPress Are Important?
Special announcements are often shown as a floating bar at the top or bottom of well-known websites. Because of their great effectiveness, you are seeing these announcement bars on an increasing number of websites.
- As a result of their placement, announcements are easily seen on any website. It often appears as a full-width bar at the top or bottom of a page.
- It may be utilized to request customers to take part in surveys, read a fresh blog article, execute time-sensitive marketing campaigns, provide exclusive discounts, etc.
- To your announcement bar, you may also add email forms, countdown timer widget, and graphic effects.
- Adding announcements on WordPress is simple and quick.
Two Effective Methods for Displaying Announcements on WordPress
Here are two effective approaches for displaying announcements on WordPress blog. When it comes to showing announcements on WordPress, choose the best one that suits your needs by taking into account things like simplicity of use, customization possibilities, and announcement requirements.
Display Announcements Using OptinMonster
We’ll be using the OptinMonster for this technique. It is the most widely used program for lead generation and conversion optimization available.
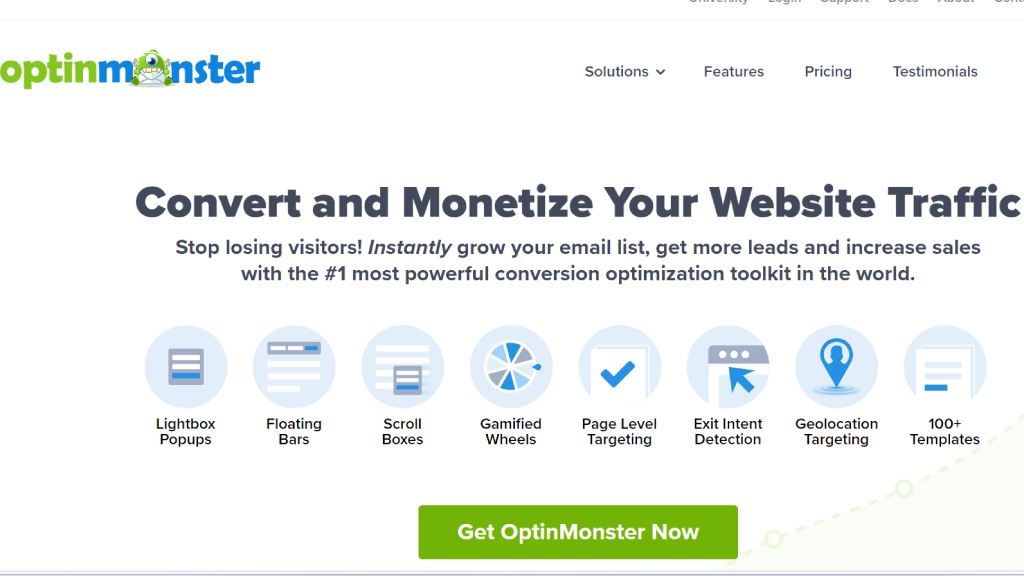
You may turn website visitors into subscribers and paying customers with the aid of OptinMonster. There are other campaign kinds included, such as announcement bars that you may place at the top or bottom of your website.
The most significant feature is that it has strong display rules that let you show various users different materials. It’s also up to you where and when your announcements are shown.
Activate the Plugin OptinMonster
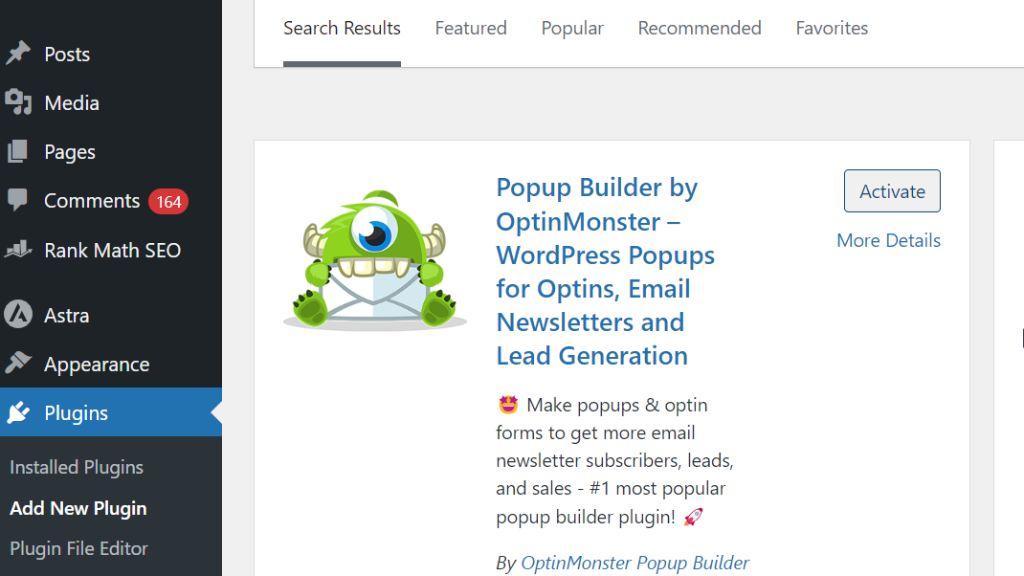
Installing and turning on the OptinMonster plugin is the first step. See our detailed instructions on installing a WordPress plugin for more information.
The OptinMonster account and your WordPress website are connected by this plugin.
After activation, you must go to the OptinMonster » Settings page and select the option to “Create a New Account” or “Connect existing account.”
Link the Account
This will cause a popup window to appear, allowing you to link your OptinMonster account to your WordPress website and log in.
You may now launch your first geotargeted campaign after connecting your WordPress website. Navigate to the Campaigns page on OptinMonster and select the ‘Add New’ option.
Launch an OptinMonster Campaign Builder
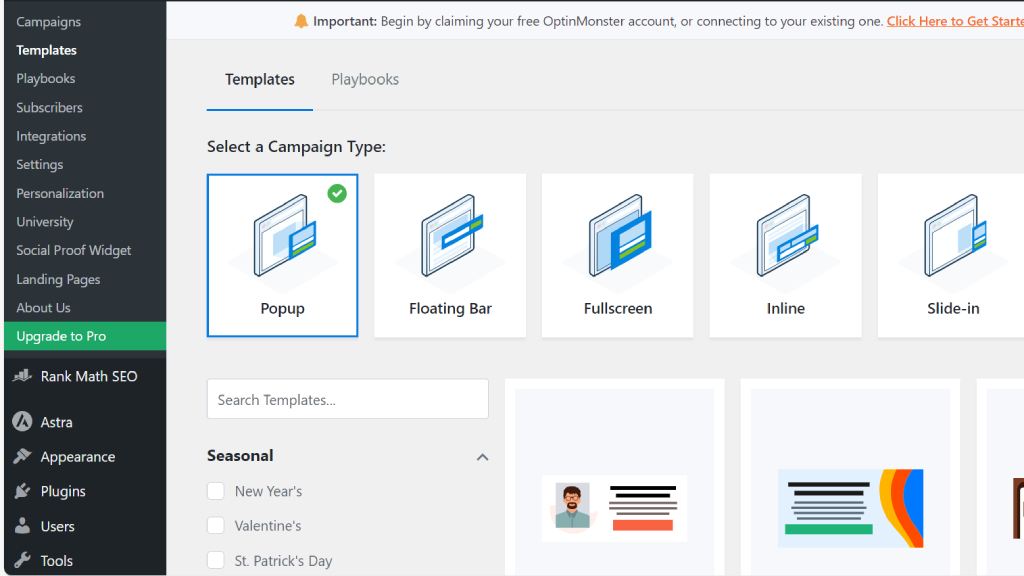
You must first decide the kind of campaign to run. Lightbox popups, floating bars, inline options, fullscreen, slide-in, and gamified campaigns are all supported by OptinMonster.
Go with the Floating Bar Campaign
We’ll use a floating bar campaign for the sake of this article, which enables you to place a floating bar at the top or bottom of your website.
- Click on the campaign template you want to use by selecting it below.
- The next step is to give your campaign a name. After entering any name in this field, click “Start building.”
- A live preview of your campaign on the right panel, will open OptinMonster’s campaign-building interface.
Campaign Design
Any item in the preview may be easily edited, moved, or deleted by just pointing and clicking on it. By selecting the Add Blocks option at the top, you may easily add other elements.
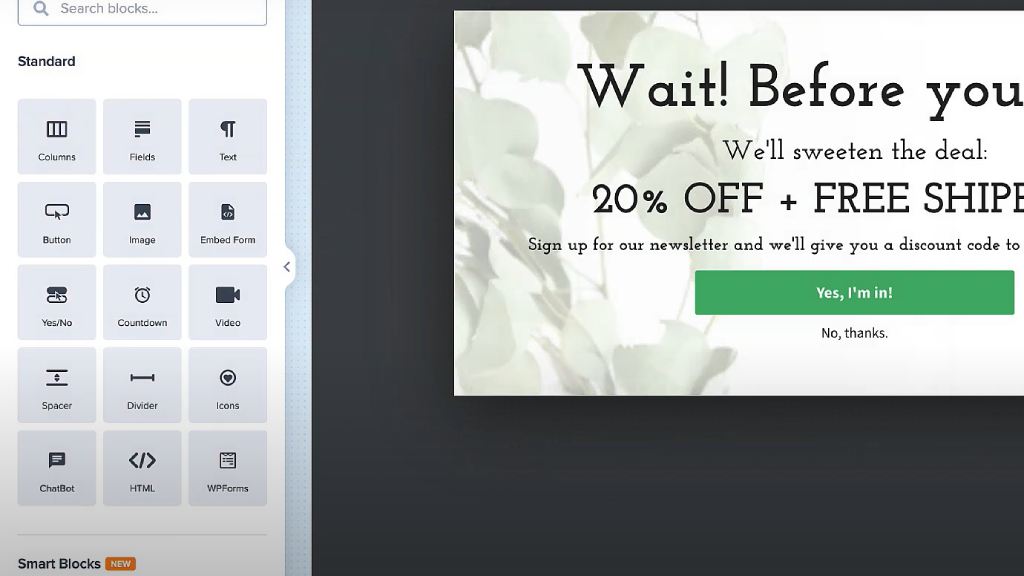
To simulate FOMO, we are utilizing an announcement bar in this example that is presenting a special deal with a countdown timer.
Simply click on the Floating Bar Settings from the left column and tick the option to shift the notification bar to the top if you want it to appear that way.
Publish The Campaign
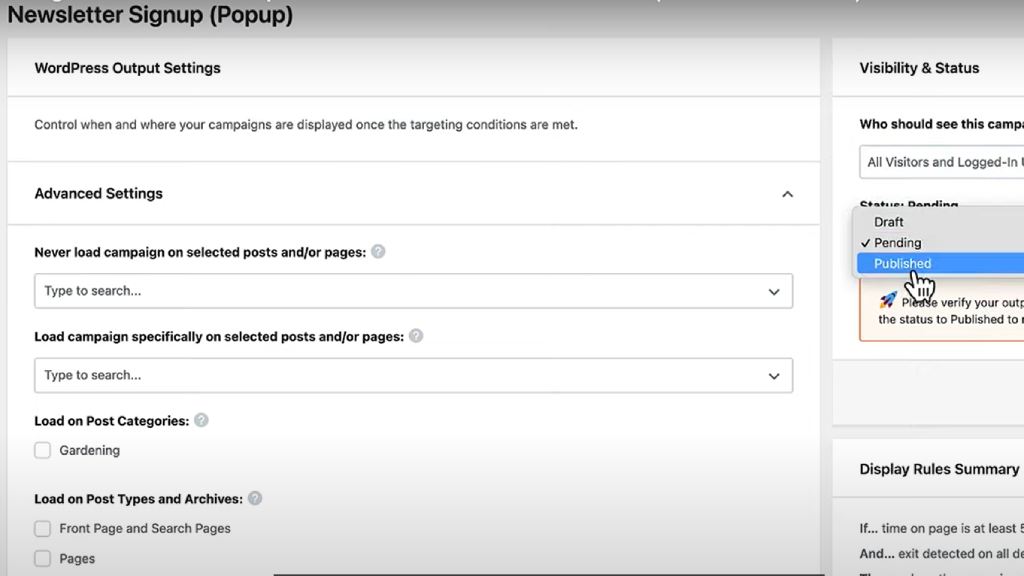
- Once the campaign’s layout and content are complete, select the Publish tab and set the campaign’s status to “Publish.”
- Next, end the campaign builder by selecting the Save option to save your settings.
- You will now be sent to the Output settings page by OptinMonster. You may now select the locations where your campaign will be shown.
Announcement Bar
Then, to activate your campaign, set its Visibility status to Published and press the Save button.
You may now view your announcement bar in operation by going to your website.
Display Announcements Using Notibar
With an abundance of features, like email form integration, timers, an infinite color and design palette, and robust targeting settings, OptinMonster is an extremely potent tool.
However, you may use this method if you want to display an announcement fast without employing any complex features.
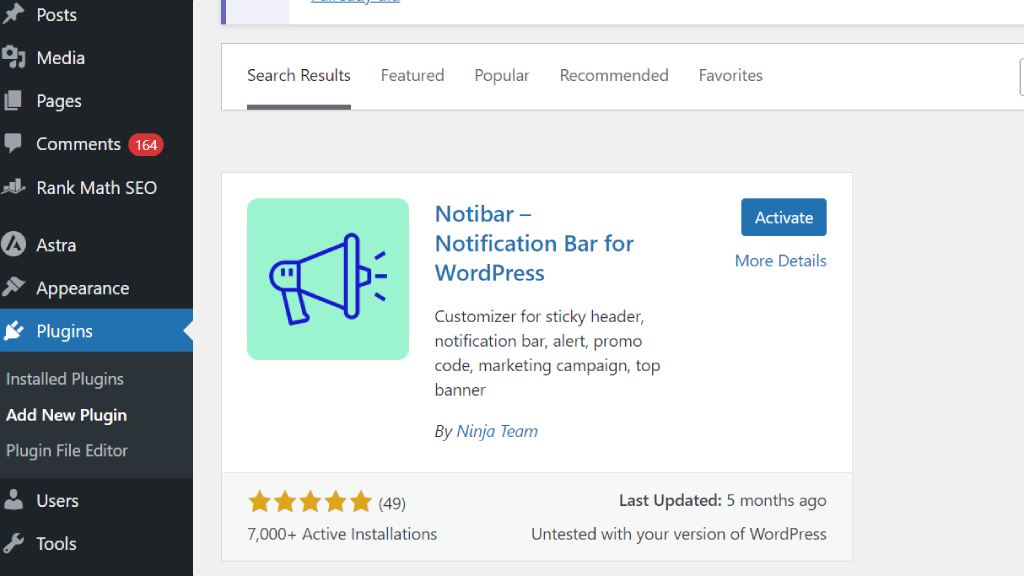
Installing and activating the Notibar plugin is the first step. See our detailed instructions on installing a WordPress plugin for more information.
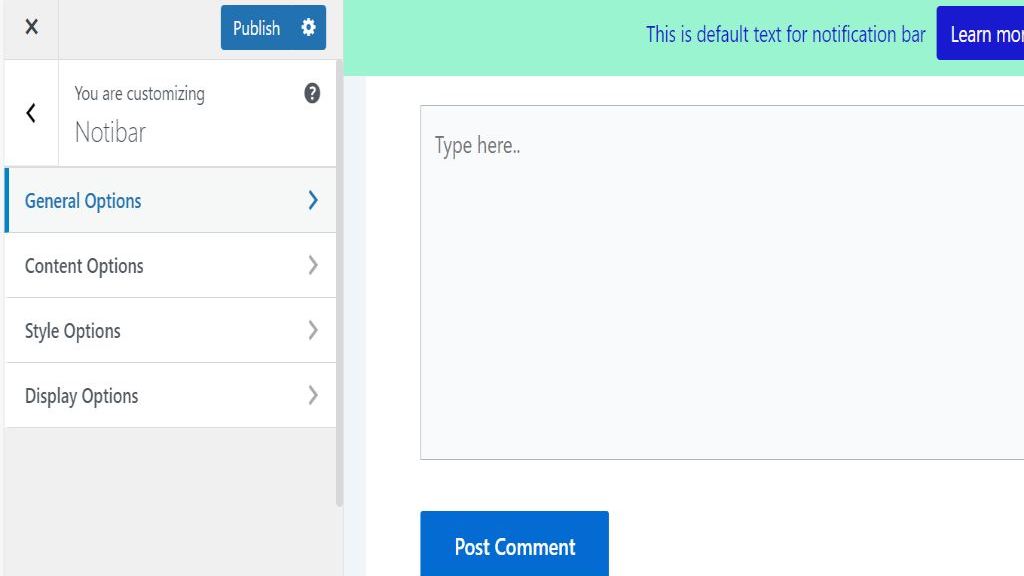
After activation, the plugin will run in the Theme Customizer with a live preview, and you will need to change its settings by going to Settings » Notibar.
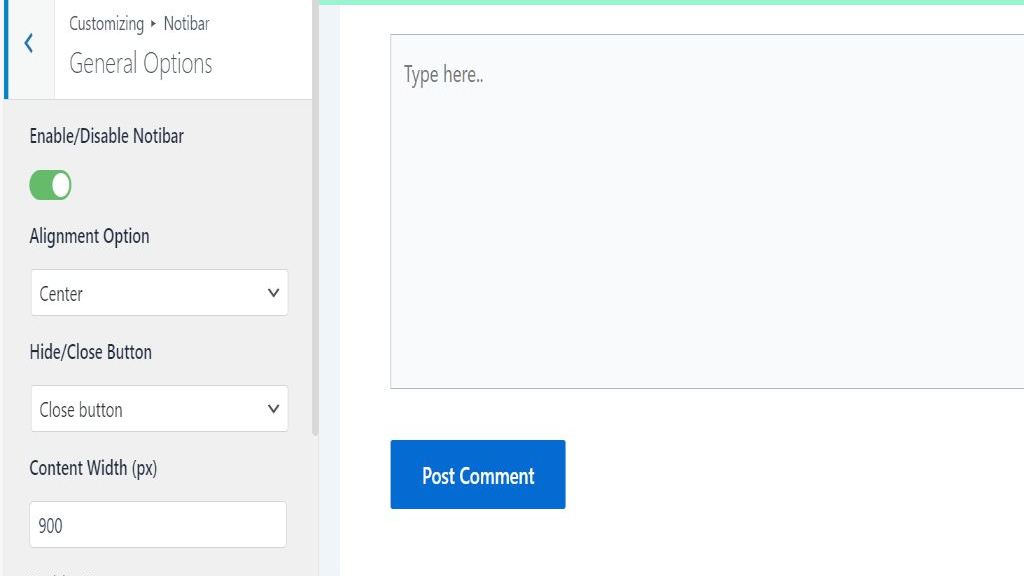
To begin, navigate to the General Options tab and choose your notification bar’s position, width, and button type.
General Options for the Notibar
Return afterwards and choose the “Content Options” option. You can now input the material that you wish to display for your announcement.
Options for Your Announcement Bar’s Content
You may add alternative content for mobile devices with the plugin.
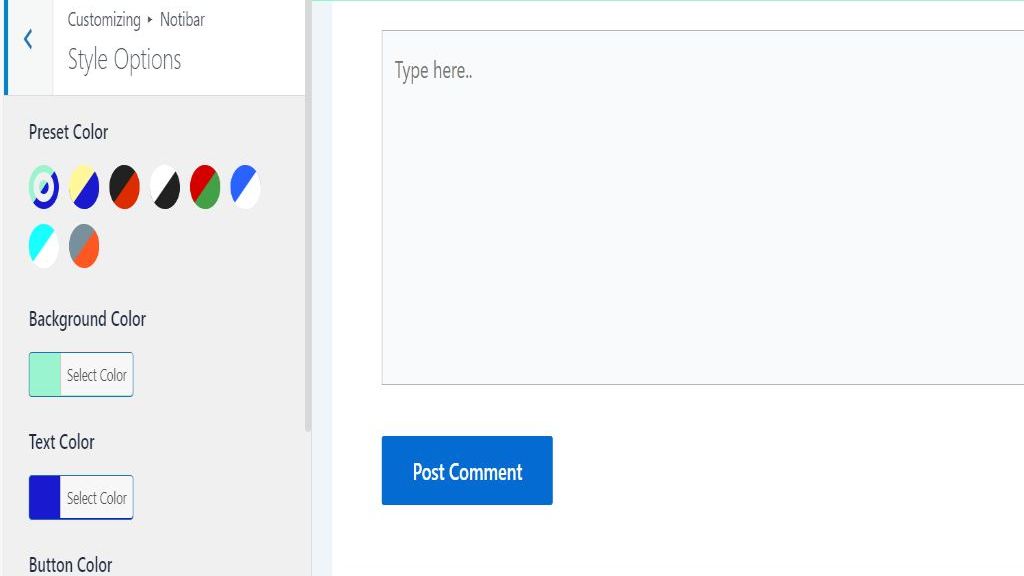
You may then return and navigate to the “Style Options” after that. This is where you select the text size and color scheme for your announcement bar.
Options for Your Announcement Bar’s Style
Lastly, select where you want to show or conceal the information of your announcement bar by going to the Display Options page.
Display Settings
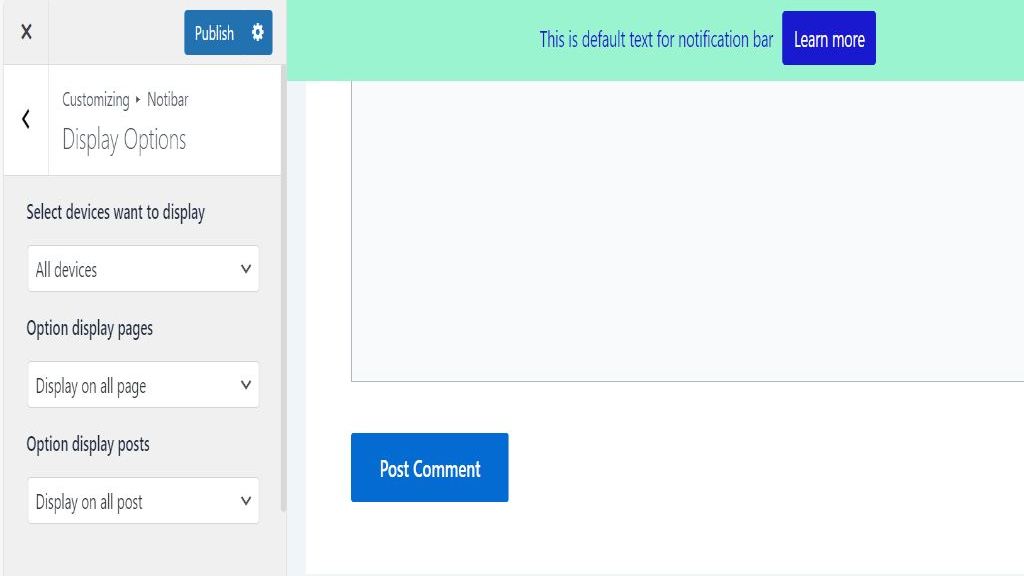
With the plugin, you may specify which posts or pages you don’t want the notification bar to appear on, as well as conceal it for devices, homepages, pages, or posts.
When you’re done, all you need to do is click the “Publish” button at the top to save your modifications and activate your announcement bar.
You may now view your announcement in action by going to your WordPress blog.


